KataGo Opening Books - 9x9 Highlights and Discoveries
Here is the barest tip of the iceberg on 9x9 openings suggested by the books and a few interesting things found while developing them. Also, since 9x9 is a board size that many players play competitively and are familiar with various openings for, experienced players may well notice many more interesting things the superficial coverage here! Check out the books yourself via the links off the main page.
For KataGo's 9x9 books, the books were generated with a specially 9x9-finetuned neural net, available for download here! This neural net, on average, should be much stronger for 9x9 analysis than KataGo's main nets.
Contents
- Overview and Prior Work
- Rules
- Optimal First Moves
- 4-4 Point Openings (A)
- 5-5 Point Openings (B)
- 4-5 Point Openings (C)
- 3-5 Point Openings (D)
- Wait, the 3-4 point is losing?
- Fun tactics
Overview and Prior Work
Some earlier prior published opening books or resources on 9x9 openings, at least those in English, include:
- An earlier opening book from CrazyStone published by Rémi Coulom. KataGo's 9x9 book for Tromp-Taylor rules appears to agree with many of the same main lines, but there also seem to be many points of disagreement. It might be interesting to take a closer look at some of these differences!
- Some really interesting 9x9 opening resources created or maintained by "mark5000" of the OGS forums.
- Sensei's Library also has some links to various game databases and resources here.
Unlike board sizes 7x7 and 8x8, KataGo's books for size 9x9 are very far from being comprehensive, even near the main lines of the likely optimal variations. The state space of 9x9 is immensely vaster! Simultaneously, KataGo's neural nets, even finetuned for 9x9, also often give less confident evaluations that are less able to solve these lines, due to the deeper and more difficult tactics.
There are almost certainly some deep misevaluations and mistakes in these books, due to the sheer exponential number of branches. If you find any particularly major misevaluations, especially ones that affect prominent lines of major openings, feel free to reach out the Computer Go discord or open an issue on GitHub. It is often possible to fix mistakes simply by updating the book with selectively deeper expansion of relevant branches.
Rules
As with other board sizes, this site has 9x9 books for Japanese-like rules and for Tromp-Taylor rules. These two books should more or less cover the primary axis of difference between Go rule sets - their scoring method. Most obviously, Japanese rules usually provide a finer scoring increment than Tromp-Taylor or other area scoring rules, and so tend to have fewer optimal lines due to being less tolerant of slight "inaccuracies".
There also may be some cases where the ko/superko rule in effect also makes a difference, and there are some exceptional oddities where KataGo's Japanese-like rules implementation also doesn't quite match the way those oddities are adjudicated in modern Japanese rules. However in practice such differences are very rare. For this reason, KataGo currently doesn't have additional books for alternative ko rules and just uses the normal ko rule for each ruleset: simple ko for Japanese-like rules and positional superko for Tromp-Taylor rules. In practice, the rarity of ko differences also means that the Tromp-Taylor book is for most purposes effectively a book for Chinese rules as well.
See https://lightvector.github.io/KataGo/rules.html for more details about KataGo's exact rules specification.
Optimal First Moves
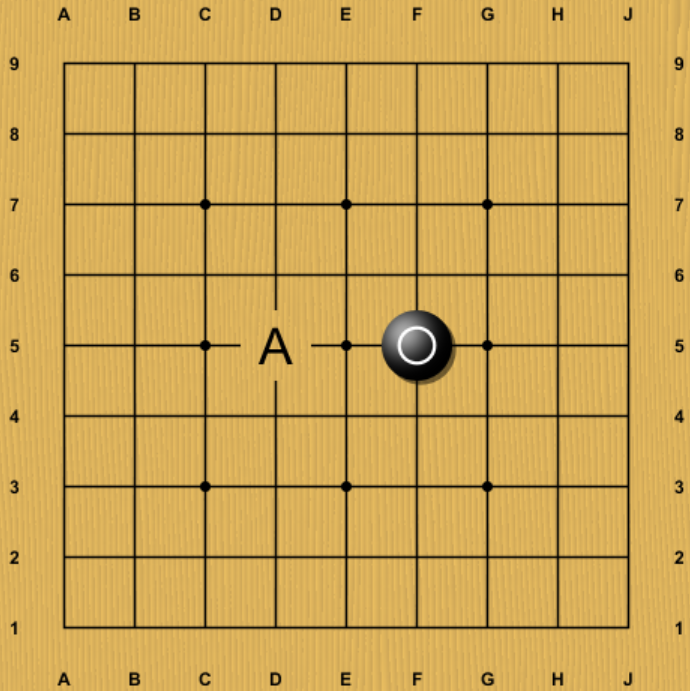
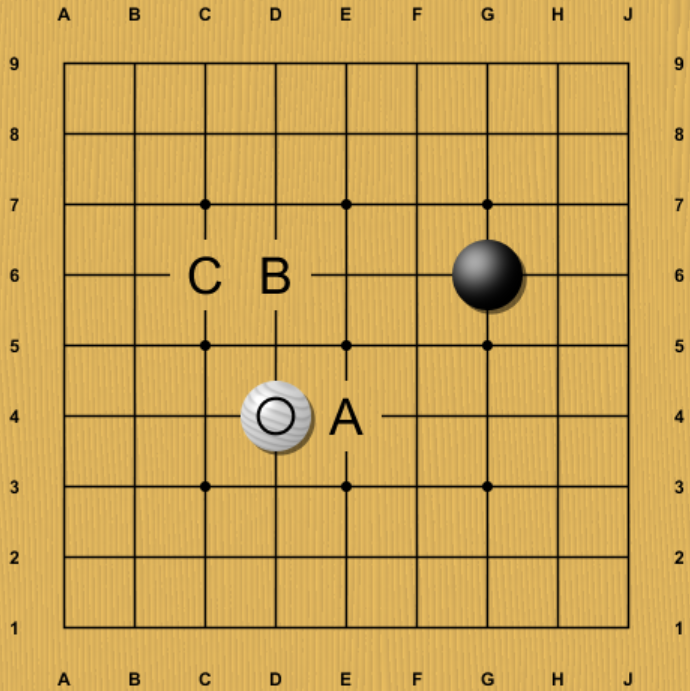
On 9x9, in both area scoring rules (Tromp-Taylor, specifically) and Japanese rules there appear to be four distinct optimal first moves.All of these moves lead to Black being ahead by 7 points before komi in Tromp-Taylor or Chinese or other area scoring rules, and 6 points before komi in Japanese rules.
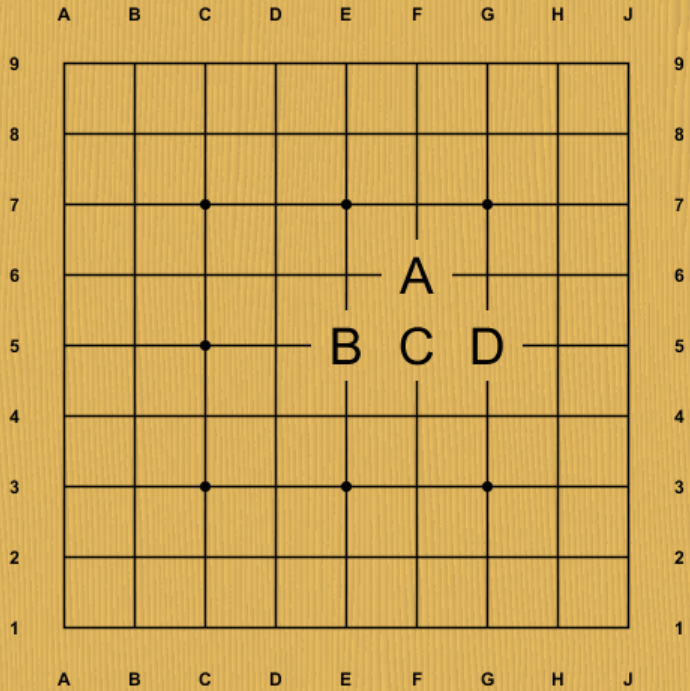
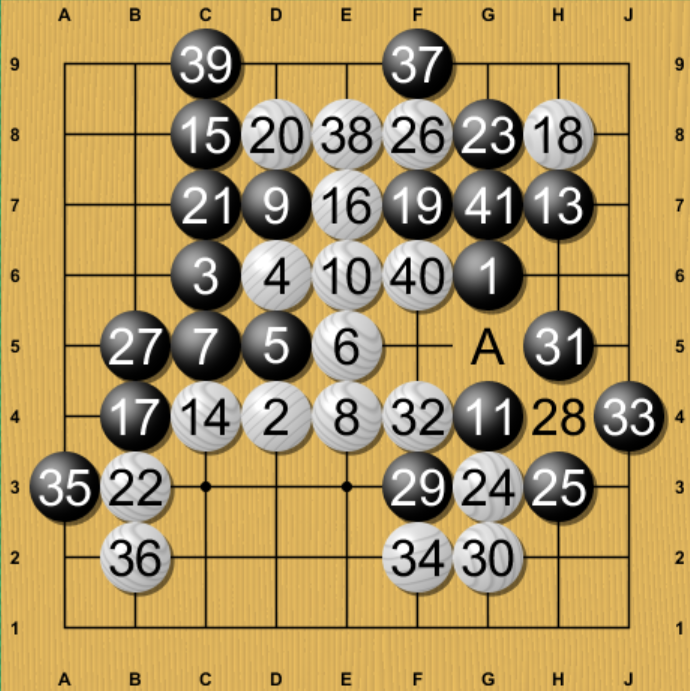
The three most central of these moves are considered roughly equally good. These are the 4-4 point (A), the 5-5 point (B), and the 4-5 point (C). Among these moves, strong bots most commonly tend to favor the 4-4 point.
The fourth move, the 3-5 point (D), with sufficiently deep analysis appears to also be optimal as well. However, it is highly dispreferred by strong bots, presumably because it gives a mild disadvantage that requires more precise later play to overcome. This is loosely analogous to how in chess, Black generally has a practical disadvantage due to being down a tempo, even though in a game-theoretic-optimal sense Black is probably exactly equal because chess is expected to optimally still be a draw.
Interestingly, 9x9 appears to the first smallest board size in which there are multiple distinct optimal first moves, and where moves that are not in exactly in the center or as close to center as possible are just as good.
4-4 Point Openings (A)
This move leads to some of the most well-explored opening lines by strong bots, as well as by human 9x9 players. It is probably the most popular first move choice among strong bots.

Under Japanese rules, White has surprisingly few good responses. Only the diagonally opposing 4-4 or 4-5 points are judged to lead to an equal position. But unlike in the smaller opening books, on 9x9 KataGo is not always as confident that dispreferred early opening moves actually lose, only giving winrates like 70-80% for Black for some moves when White deviates rather than 90+%.
As with previous opening books, we see that with area scoring more moves are optimal than under Japanese rules. In this case a lot more moves!
As in many other positions in the book, we also see a continuum of preference between moves, with no sharp cutoff. It's hard to tell the boundary between moves that are likely to be game-theoretically optimal, and moves that are likely to ultimately lose.
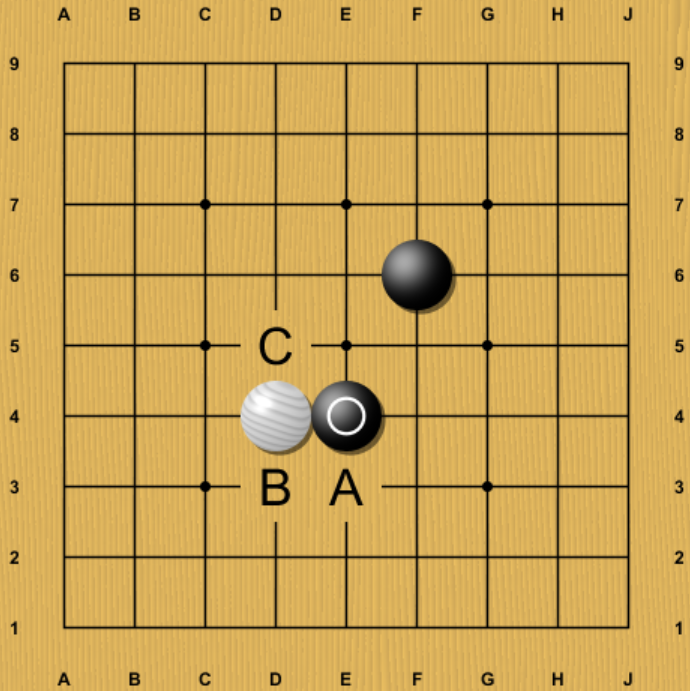
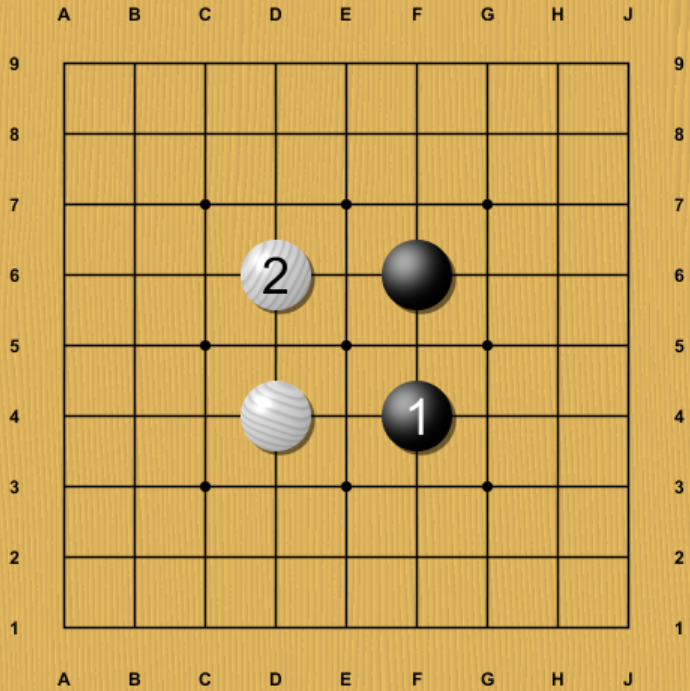
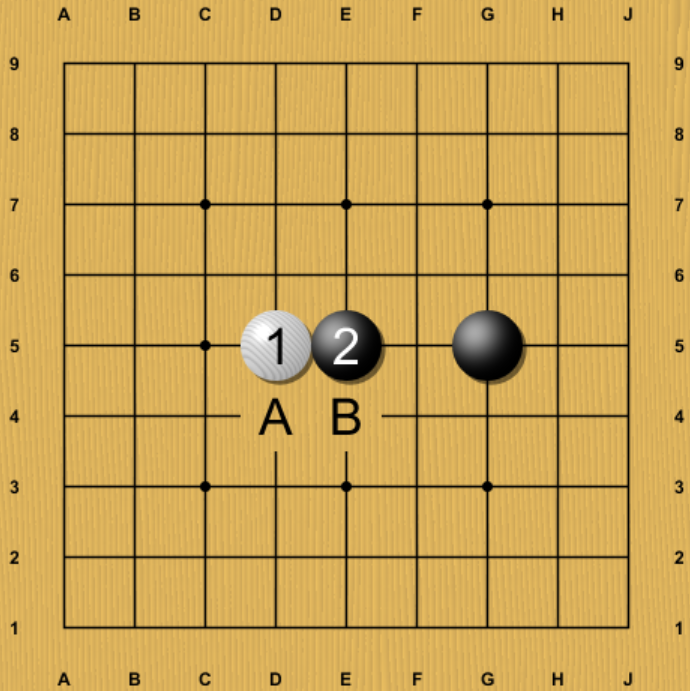
One interesting detail is that in the main line where White responds with the opposing 4-4 point, Black must attach. This is true in either ruleset. Next, White A, B, and C will all lead to openings that experienced 9x9 players are probably familiar with. Strong bots play these openings a lot as well.
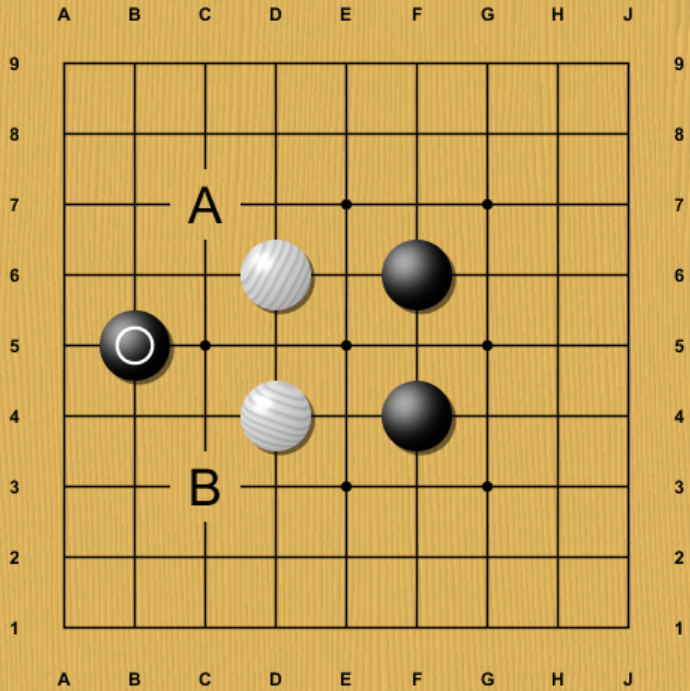
If Black instead of attaching simply takes another 4-4 point, which might be the more obvious move for casual players, White does too and is judged to be ahead! Simply dividing the board evenly like this apparently is too good for White, given komi. Again, this appears to be true in both rulesets.
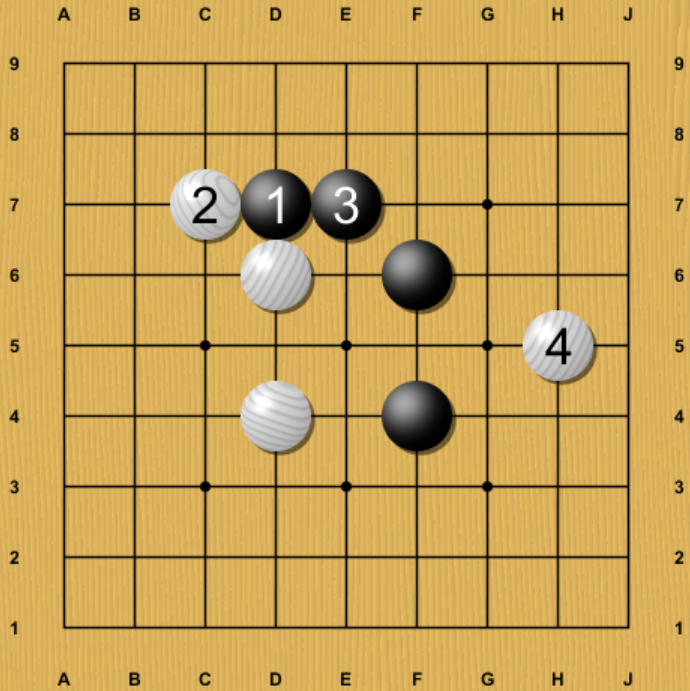
Black's best chance to complicate appears to be the submarine move here, making some miai of extensions to A and B. Other submarines are also possible. All of them can lead to messy fighting.
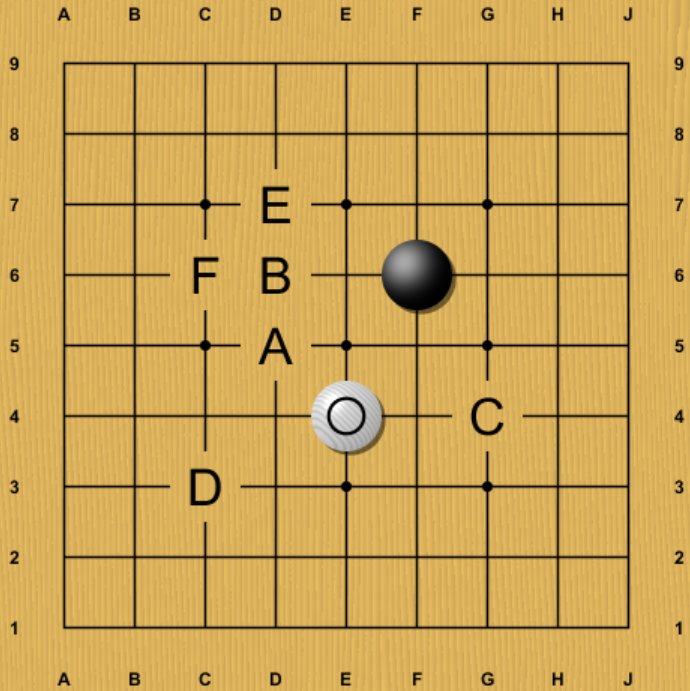
Black can also try the attach and pullback, but White will play their own submarine!
Unlike in small opening books where we can achieve very high confidence that a deviation is objectively wrong, for 9x9, KataGo is not confident that White actually has a winning advantage and the book still gives winrates of 20-25% for Black in these cases. But this is still a large drop from the 45-50% initial winrates. Pretty much all strong bots consider not originally attaching on move 3 in this variation to be a mistake for Black.
The opposing 4-5 point also appears to be a fine move for White. This move is a bit dispreferred by KataGo, and is relatively rare from strong bots such as on CGOS. This is possibly due to a slight perceived disadvantage, similar to opening with Black's first move opening on 3-5. However, the deeper analysis from this book suggests it is also likely objectively fine move, and it leads to a rich set of variations.
A and B are Black's most-preferred responses, but C, and possibly D through F look also reasonably likely to be optimal as well.
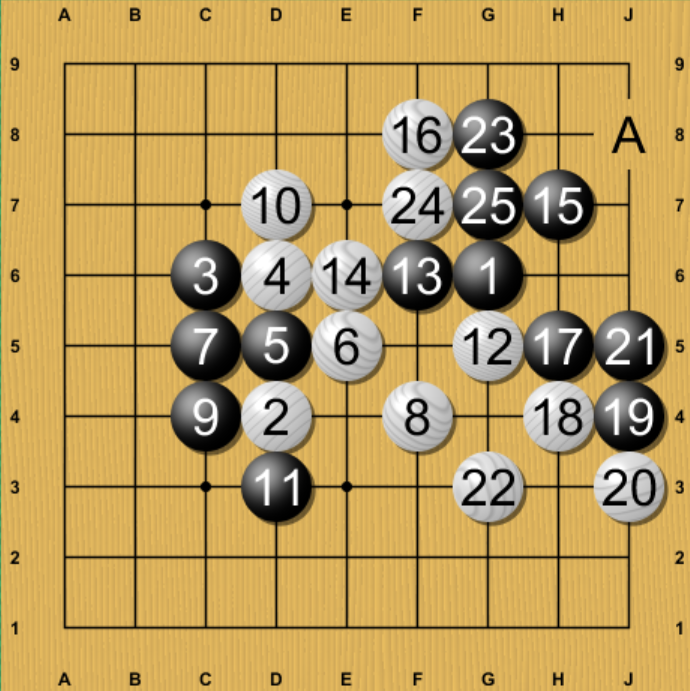
For many of the moves that are believed optimal in area scoring but not with Japanese scoring, it also can be fun to "play" the two opening books against one another. Usually the top moves match in both books and are explored deeply, so you can get quite deep and investigate where the difference comes from. Running KataGo live on a good machine can also help to investigate, particularly when the book ends or gets thin.
There also may be some variations where the ko/superko rule in effect also makes a difference, but in practice such differences, or differences due to other even more minor details, are extremely rare, so KataGo currently doesn't have additional books for alternative ko rules, and the Tromp-Taylor book is *probably* applicable in practice for Chinese rules as well.
5-5 Point Openings (B)
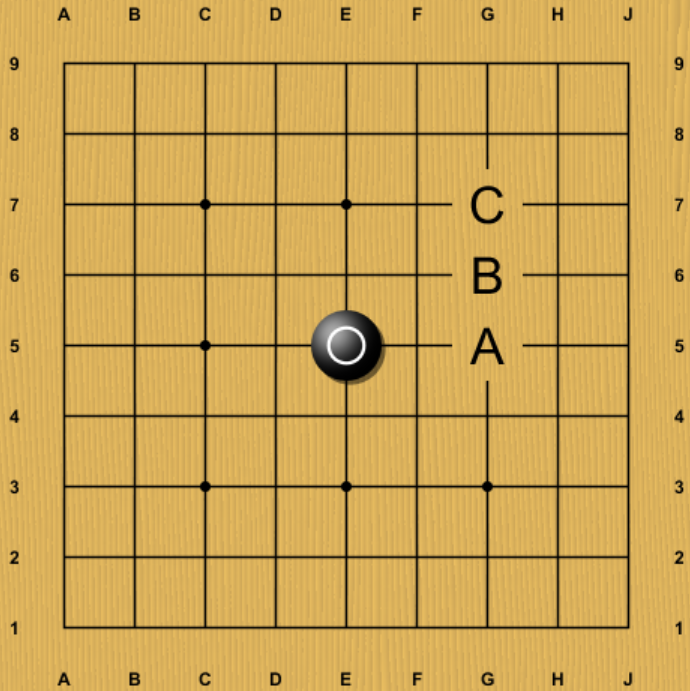
The 5-5 point opening from Black is very flexible, leading to a large number of complicated variations.
Interestingly, some versions of KataGo dislike this move when komi is below fair and Black is leading but like this move when komi above fair and Black is behind. Although there could be many reasons why this is the case, this could also reflect Black preferring greater complexity when behind, but preferring to avoid it when ahead.
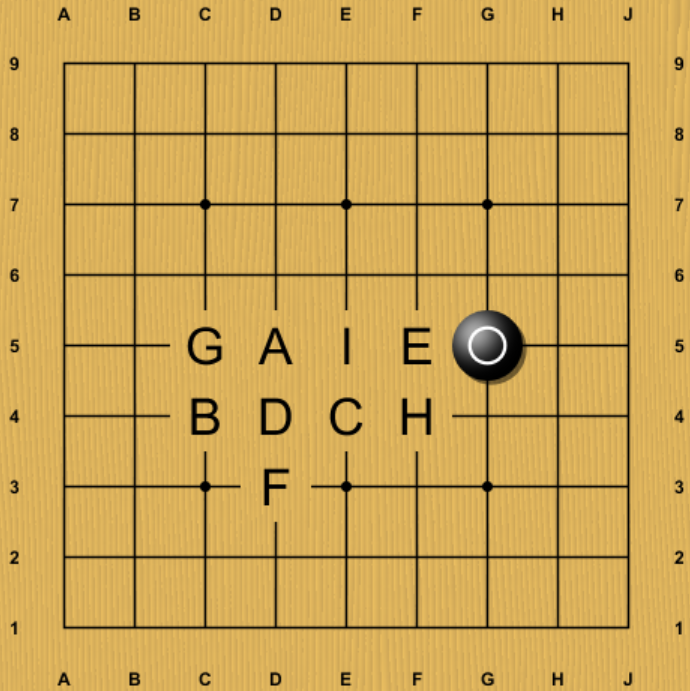
White can respond at either of the one point approach A or the knight approach B. For Tromp-Taylor or Chinese or other area scoring rules, C also appears to be viable, but KataGo thinks not for Japanese rules.

The playable variations for the 5-5 point opening branch extremely rapidly, especially in area scoring rules. After the one point approach, Black has 3 to 4 distinct likely optimal responses, and several more that are less preferred but still close.
After the knight's approach, Black has as many as 5 distinct likely optimal responses, trailing off into another continuum of less-preferred replies.
For almost every one of these Black moves in each of (A) and (B), White has many possible responses. Here White has roughly 14-15 (!) responses that are all evaluated to be seemingly optimal up to the current depth horizon of the book, including many that are so unnatural that neither humans nor strong bots would almost ever choose them in practice.
In the same position, there are fewer likely-optimal variations in Japanese rules, due to its increased scoring precision, but still a lot. Here White still has 8 responses! Of course, it is quite possible that there are deep misevaluations here. Future deeper analysis might find that some variations are losing rather than draws, or vice versa.
Either way, it's clear that the 5-5 point immediately leads to a large number of choices by both players.
4-5 Point Openings (C)
The 4-5 point opening seems to give a more narrow set of likely optimal lines, at least under Japanese rules.
White's natural response is at A. Actually, in Japanese rules, it seems to be White's only likely good response!
After that, Black has only two likely good responses. The more preferred of the two gives White only two responses in turn.
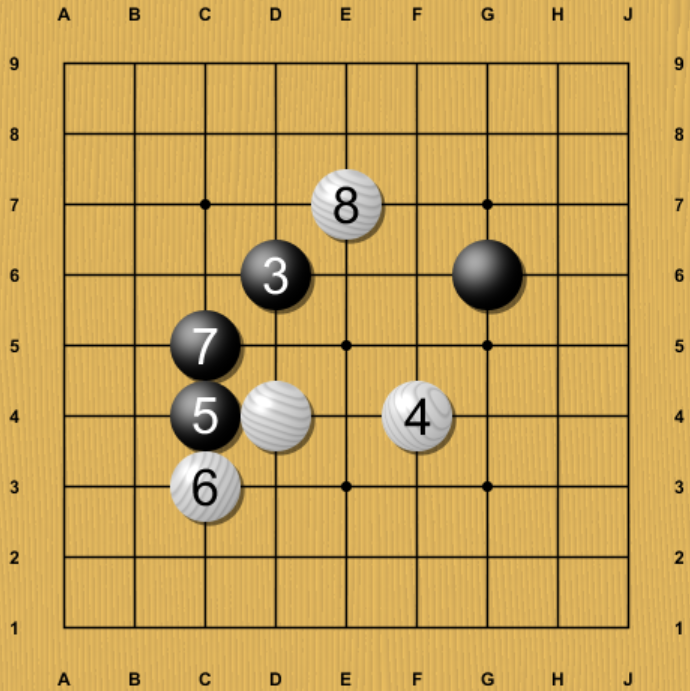
The main line that bot games often follow for this opening can still be very complex though! White often plays this submarine, leaving the skirt at B5 open, and manages two unstable groups thereafter.
Whereas KataGo believes that the tree of immediate good followups for 4-5 is fairly narrow for both sides under Japanese rules, under area scoring rules a lot more moves appear possible.
Here, as many as 9 distinct moves are believed to be almost equally good! All of them are dispreferred by strong bots, probably being perceived as very slightly disadvantageous in practice, but there is a good chance that most or all of these are still objectively optimal.
3-5 Point Openings (D)
The 3-5 point opening is almost never played by strong bots. It is probably less popular than other openings among human players too. However, with deep analysis it seems also likely optimal.
Right away as of move 2 White has a lot of choices, perhaps due to the need to not play as accurately given Black's mild disadvantage. Under Japanese rules, all of moves A-I appear to be good responses for White. With area scoring, even more moves appear to be possible as well.
In the main line White plays the opposing 4-5, and Black attaches. After that, White can extend or hane, and multiple variations branch from there.
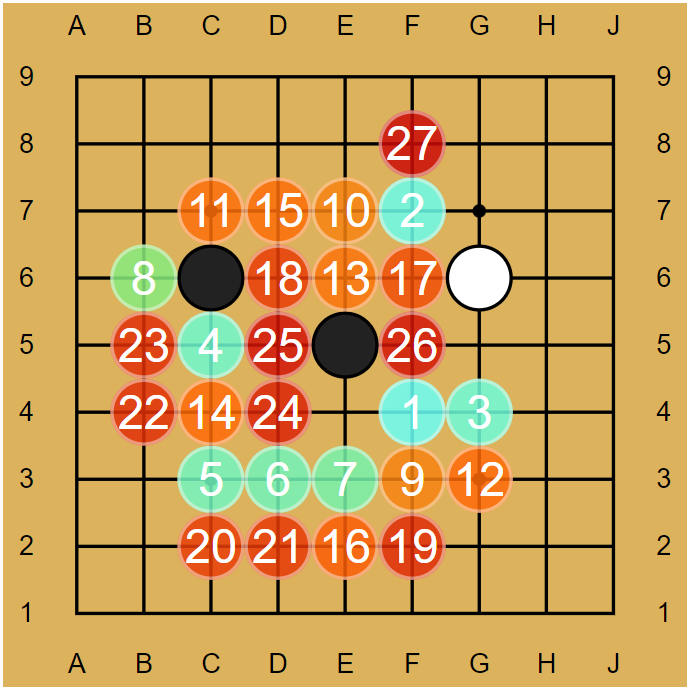
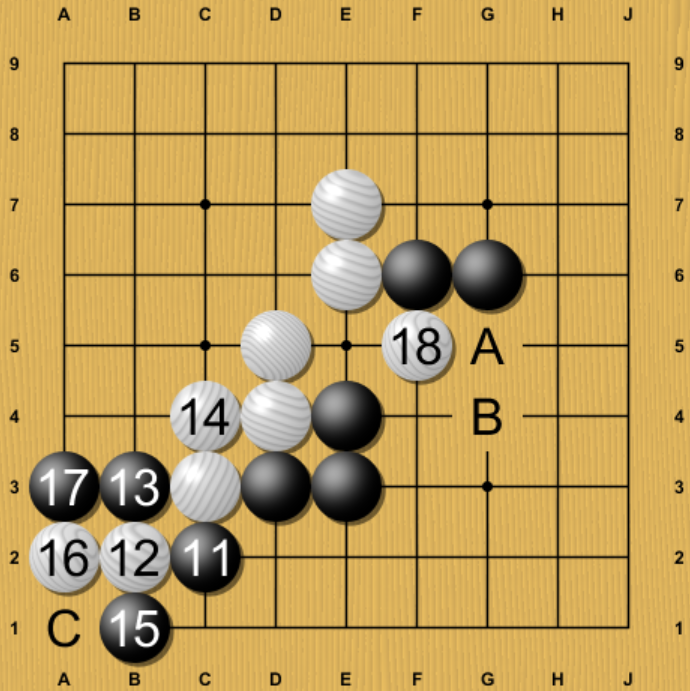
Wait, the 3-4 point is losing?
One surprising result of this book is that the 3-4 point might be losing!
Prior to finetuning on 9x9, earlier neural nets of KataGo disliked Black opening on 3-4, but with deep analysis considered it to be playable.
A prior attempt at building a 9x9 opening book was also unable to prove any problems with the move even after expanding a book out to hundreds of millions of visits. Tantalizingly though, the line for Black to survive was very narrow.
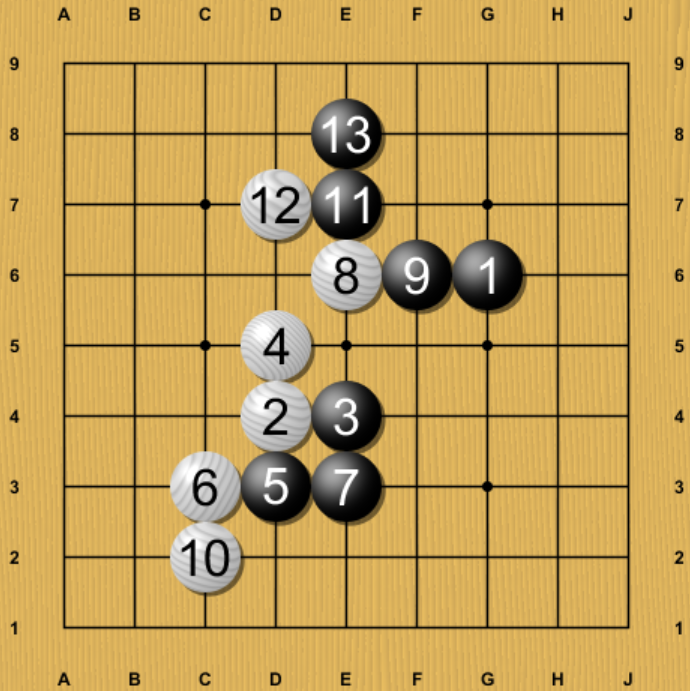
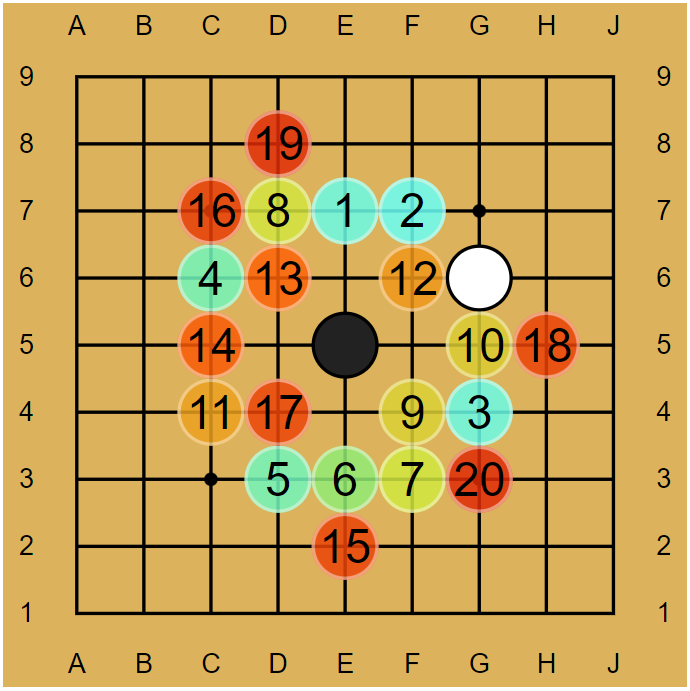
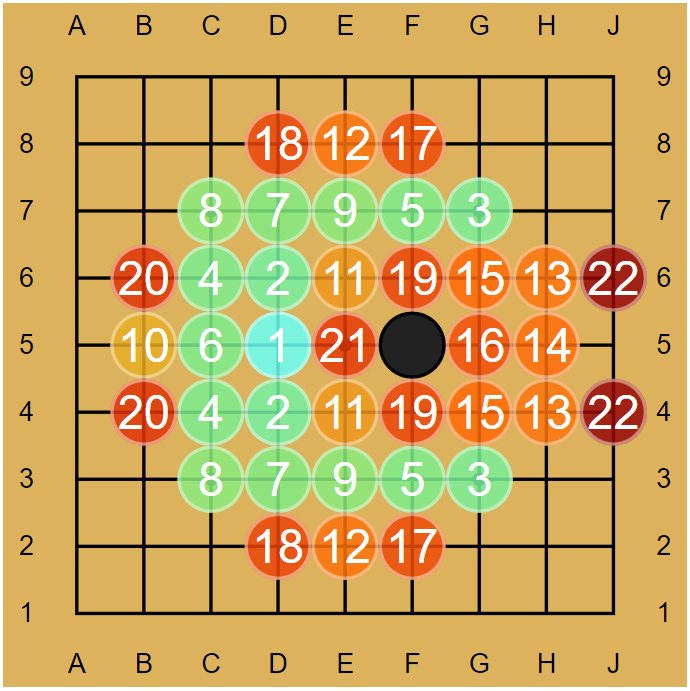
The critical narrow line was this one. On every move except move 3, Black's move is forced! Otherwise, Black is forced into lines that strong bots will quickly recognize to be likely losing.
This narrow opening sets the stage for many wild fights, where Black's right side has extremely bad aji but is barely too large for White to leave uncontested.
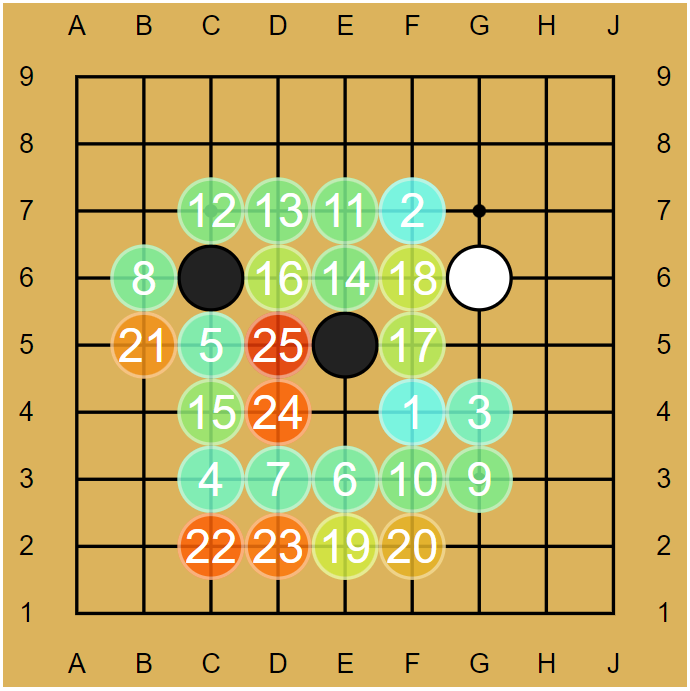
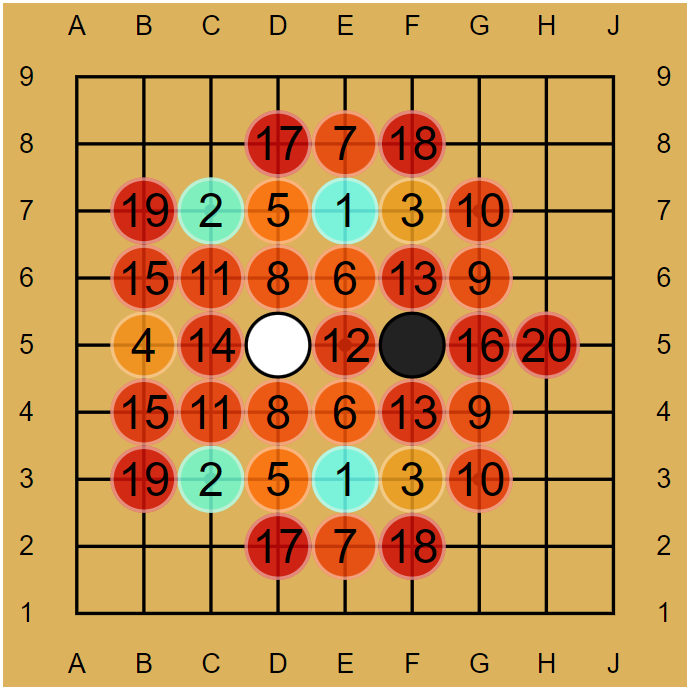
White's strongest efforts, depending on a variety of choices by both players as they keep counter-escalating, turn the board into one of several complex capturing races or other messy fights. Such as this one, where Black's entire group is at risk! In some variations, Black wins on move 70+ by merely one or two ko threats, narrowly avoiding White capturing the entire board.
Here's another messy variation! Many others are possible as well. These variations also contain many blind spots and misevaluations that older neural nets for KataGo are vulnerable to.
Ultimately, analysis suggests that Black overall wins with correct play. The new 9x9-finetuned net used to generate the current book handles these positions much better with fewer blind spots than before, and confidently agrees that they are variously draws or wins for Black.
In fact, the 9x9 books here mostly don't go this deep, partly because the new finetuned net solves these variations too quickly to consider them worth expanding! But on a strong computer it can be fun to run KataGo interactively and explore these positions, and to compare the results between different nets.
This would seem to confirm that 3-4 is, barely, a fifth optimal opening move for Black on 9x9.
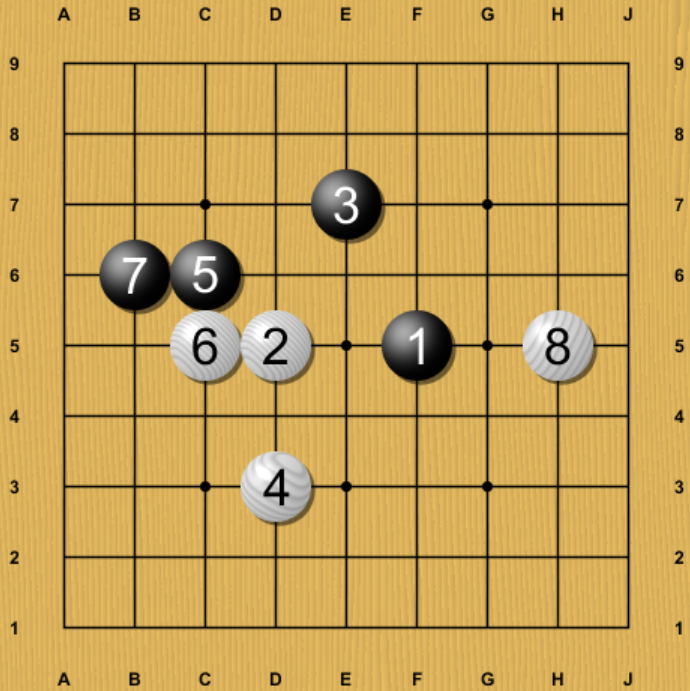
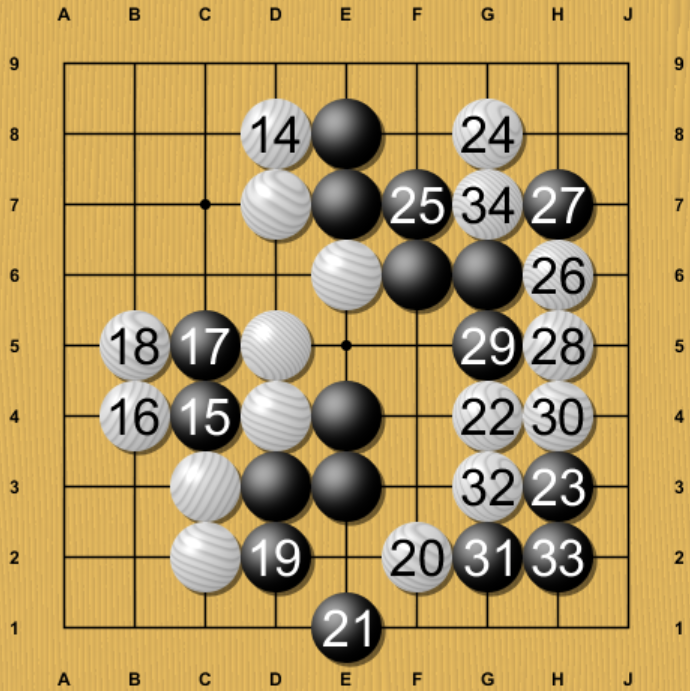
However, the new finetuned net suggests a new move for White! Extending here seems to give White a winning advantage.
When Black hanes at move 11, White can double hane at 12, and then break in at move 18 to take advantage of Black's thinness! At least according to current analysis, the resulting tactics appear to lead to a small win for White, with one of the more complex lines being next black A, white B, then black C.
Going back to move 3, there are also two other challenging moves to refute besides Black at A, which are marked here as B and C. Strong bots will likely instinctively rate B and C much worse than than A right away, but actually solving them deeply enough to have confidence that Black can't recover and still draw is challenging.
For example, move 3 at B leads to this fight here (along with several similar important variations besides this sequence).
This fight contains some very deep and tricky blind spots for older versions of KataGo in judging the status of the invading white group. When following the book with live KataGo analysis, even the new 9x9-finetuned net doesn't become particularly confident about the critical variations until the actual moves are played out past 30 or so moves deep.
Move 3 at C from diagram 28 leads to a number of challenging deep variations as well, including an unusual number of important variations where Black probably draws under Japanese rules but not under area scoring rules! Here is one such variation.
Normally, the set of draws in Japanese rules (with komi 6) is a subset of the draws under area scoring rules (with komi 7). Due to the board having an odd size (9x9 = 81), if Black is ahead by 6 points before komi by Japanese rules, an even number, then that necessitates that Black gets the extra odd dame on the board and therefore is ahead by 7 points before komi under area scoring. If Black is ahead by 7 points before komi by Japanese rules, then the dame are even instead of odd and so it's also 7 points before komi by area scoring. So normally area scoring draws include all of the Japanese rules draws, plus all the Japanese rules B+1 results.
However this variation appears to be a likely Japanese rules draw but *not* an area scoring draw! The reason is that if White later plays at A, Black's upper right corner is destined to turn into a seki where Black would have two points of territory but White only one. Since Japanese rules don't score seki, this is an extra point worse for Black, resulting in White winning under area scoring but not Japanese rules, reversing the normal pattern!
Here's another variation after the same move 3 that has the same kind of reversal, but for an entirely different reason!
Another way that a player can gain points under area scoring but not in Japanese rules is to delay winning a ko until *after* the dame are filled. Under Japanese rules, this is pointless since the dame are not worth points. Under area scoring where the dame are worth points, this "post-dame" ko means that a player can get an extra dame first beyond what they would have gotten "normally" by resolving the ko earlier, gaining points.
This appears to be what will happen in this position. The ko will eventually start when White throws in at A. So here it seems that Black can make the 3-4 point still draw under Japanese rules, in a way that would fail under area scoring.
However, this and the above variations do not appear to be forced. Despite all these obstacles, there are other variations where White does win against the 3-4 point opening that don't appear to be so rules-dependent.
So is the 3-4 point a forced loss for Black at fair komi? It's far from confident! But until a deeper analysis is done, for now these books seems to be leaning in that direction. What's fascinating though is that if exactly the right few lines from these books are overturned, it could turn out to be different between the major rulesets, but in *reverse* of the normal pattern, so that 3-4 could be optimal under Japanese rules but not Chinese or other area scoring rules!
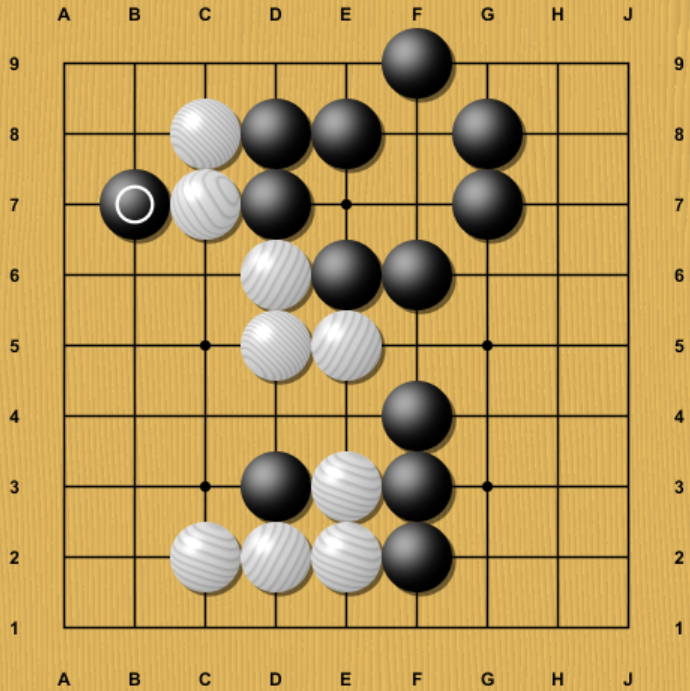
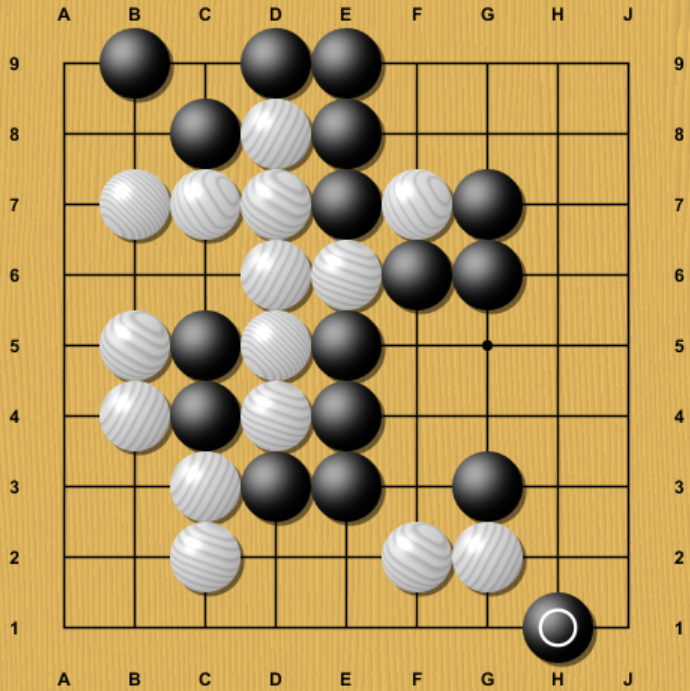
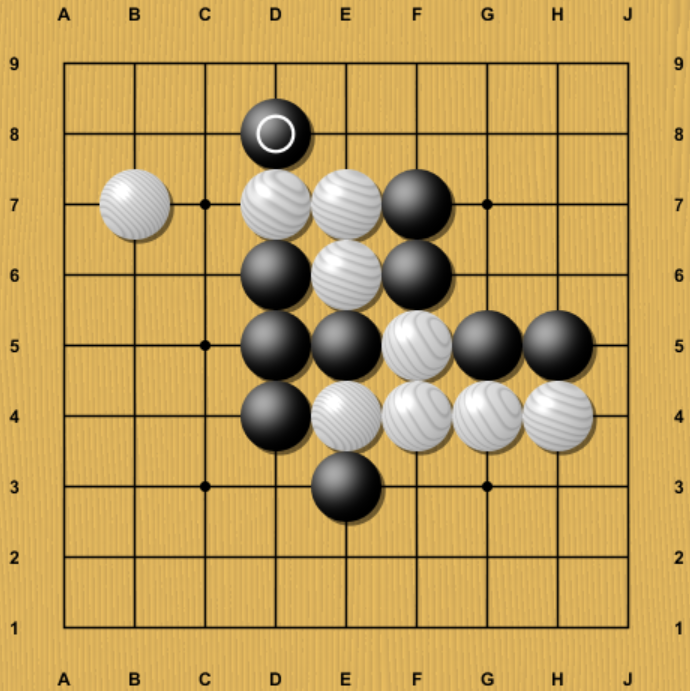
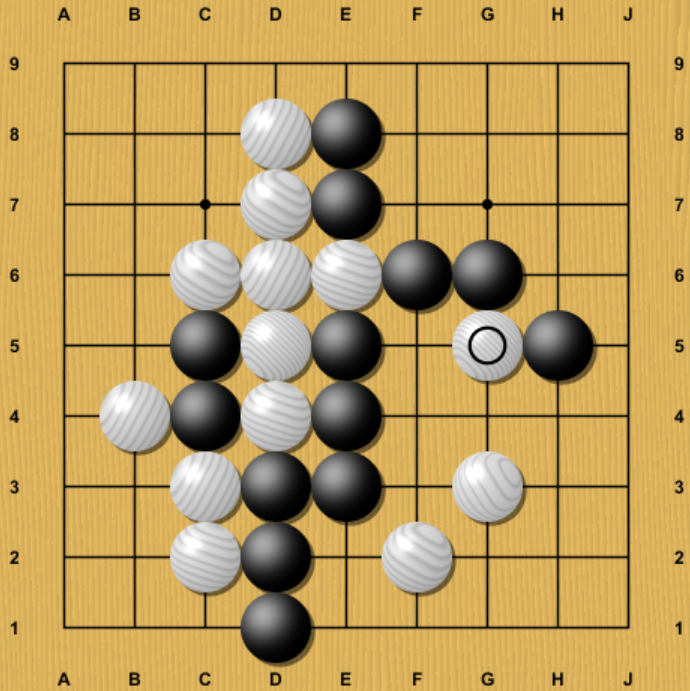
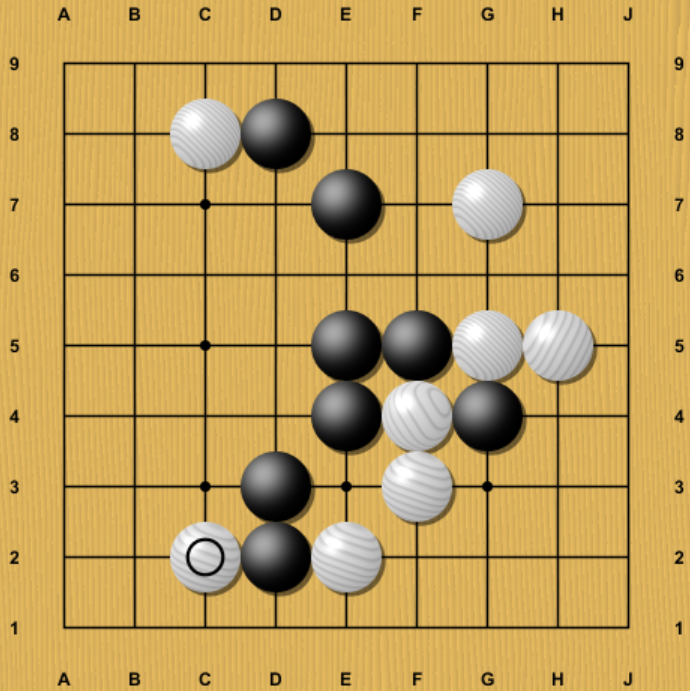
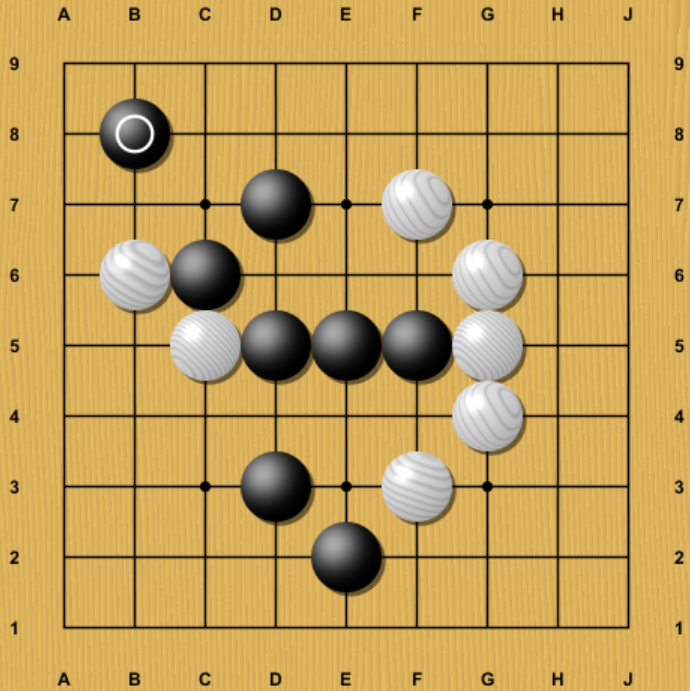
Fun tactics
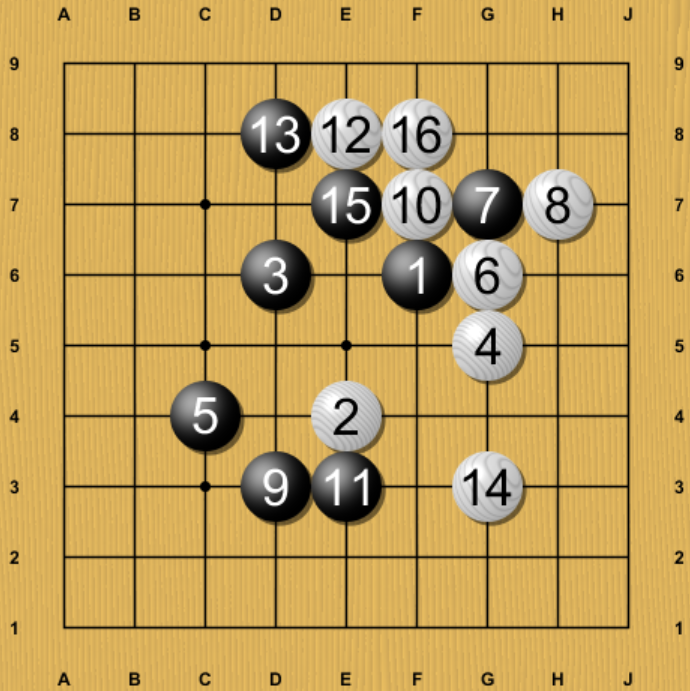
Just as with the 7x7 and 8x8 books, if you dig enough, you can find many fun and interesting tactics.
All of the below are with Tromp-Taylor rules, and KataGo believes that the shown move is the best move. To give a quick sampling:
Weird inside probe! (link)
This empty triangle bump is fun. (link)
Magic at the 1-2 point! (link)
Belly attachment! (link)
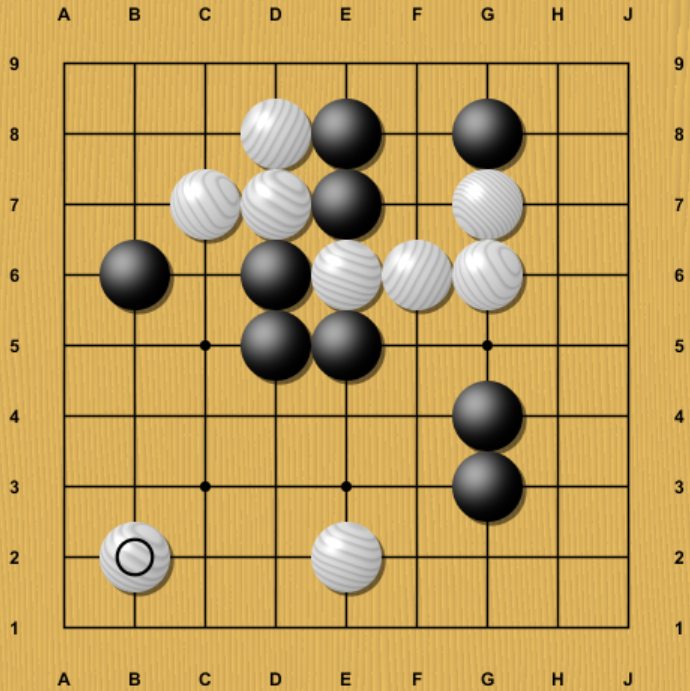
Is this ultra-low move really the unique best way for white to settle, not B3 or C3? (link)
Bizarre-looking sacrifice probe. (link)
Attaching to a wall inside! (link)
Black falling back here is an interesting response to White's probe on the left. (link)
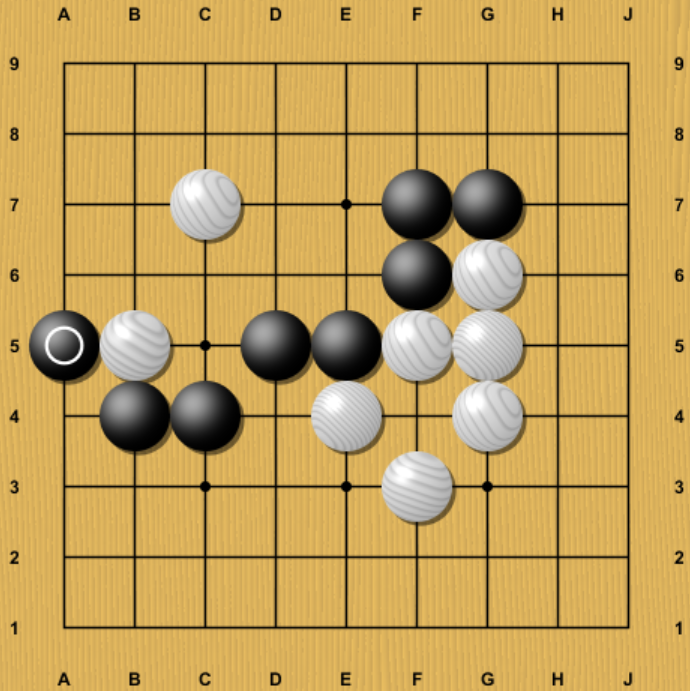
First-line hane is best way to attack White? (link)
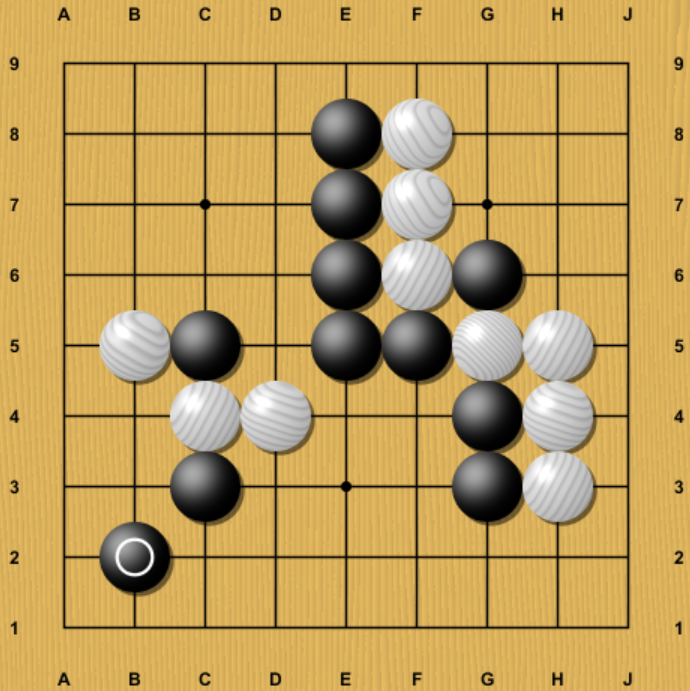
Clever diagonal! (link)
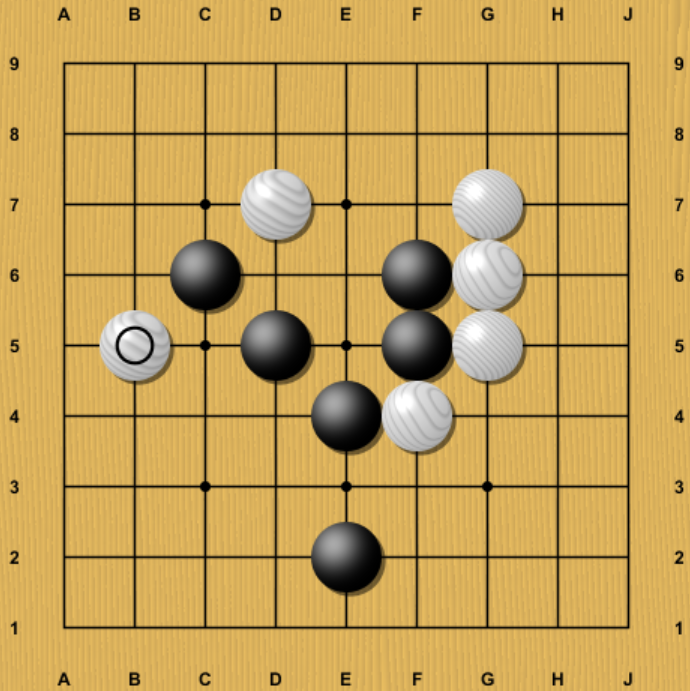
Deep placement exactly on this spot is White's only good move? (link)
For the above moves, we'll leave it as an exercise for the reader to understand why they are good. Or refute them, if KataGo is mistaken!. And of course, feel free to explore the books further yourself!